Small Backyard Chicken Run
Highlighted under: Daily Planning
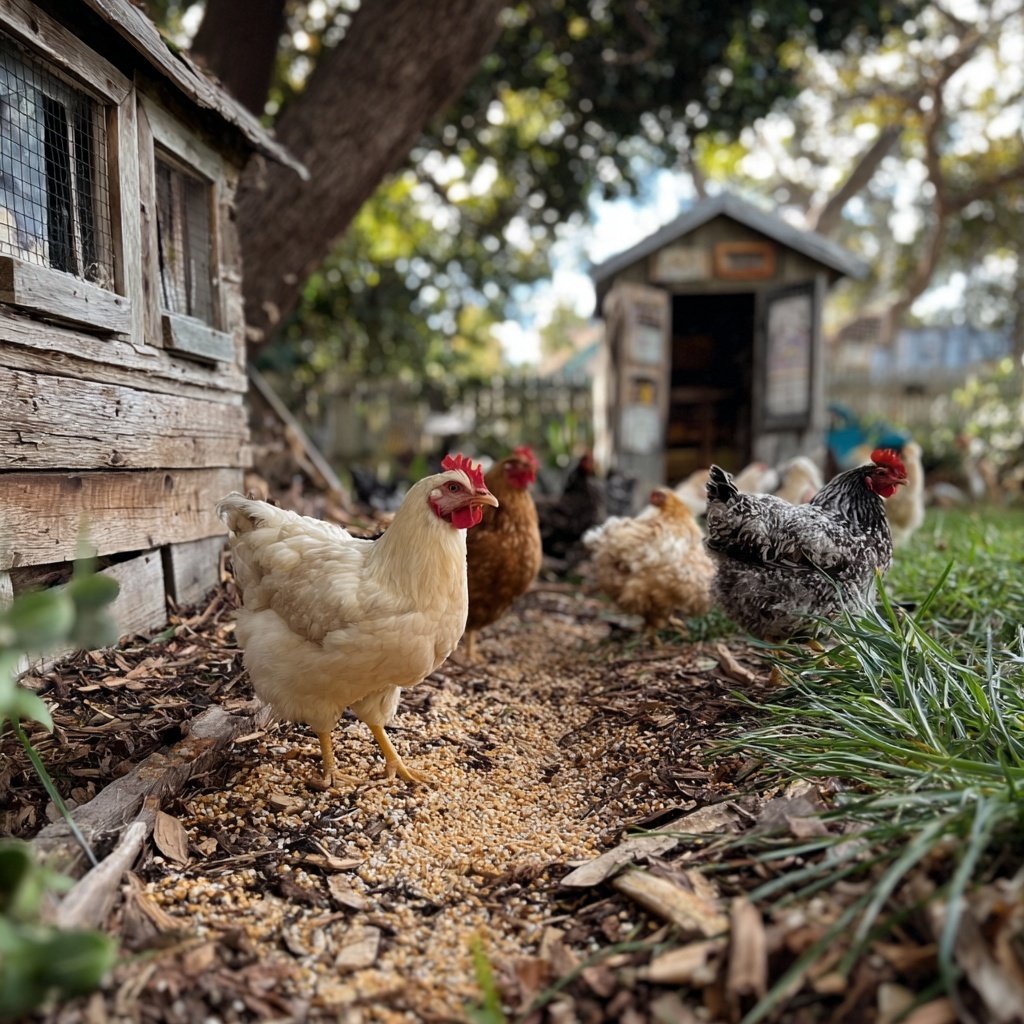
I’ve always dreamt of having my own chickens, and creating a small backyard chicken run was the perfect solution. With limited space, I wanted to design a cozy environment for my feathered friends that would keep them safe and happy. In this project, I’ll share how I built this run, ensuring it’s secure, functional, and adds charm to my backyard. Collaborating with my family made the process enjoyable, and I was thrilled to see our chickens settling in as soon as the run was complete!
Building my small chicken run was a labor of love; it transformed my backyard into a delightful rural haven. I wanted a structure that was not only practical but also visually appealing. The choice of materials was critical, leading me to use sturdy wood that has withstood various weather conditions.
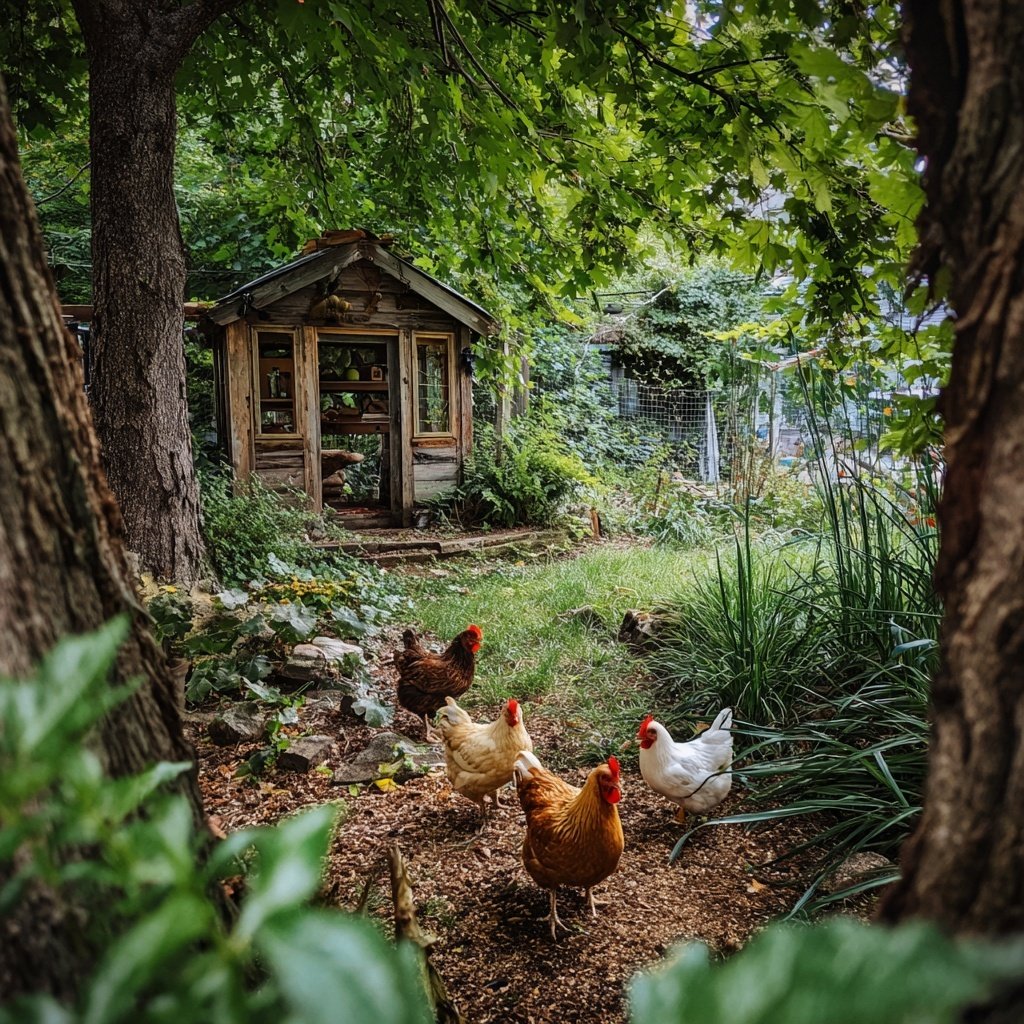
I experimented with different layouts before committing to a final design. I found that incorporating a simple shaded area made a significant difference in keeping the chickens comfortable, especially during the warm afternoons. The excitement of watching my chickens roam freely within their safe space has been immensely rewarding!
Why You'll Love This Chicken Run
- Provides a safe haven for your feathered friends
- Designed to fit in snug spaces without sacrificing style
- Easy to maintain and access for daily care
Choosing the Right Location
Selecting an appropriate location for your chicken run is crucial. Look for an area that receives plenty of sunlight but also has some shade to protect your chickens from extreme heat. Avoid low-lying areas where water may accumulate, leading to muddy conditions. A gentle slope can be beneficial for drainage, helping to keep the run dry and comfortable for your feathery friends.
Additionally, consider the proximity to your home for convenience. Having the chicken run near the house allows for easy monitoring and access during feeding times or for cleaning. Try to place it where you can also enjoy watching your chickens without disturbing them, which can make for delightful moments in your backyard.
Wire Mesh Selection and Installation
When choosing wire mesh, opt for a sturdy gauge that can withstand potential predators. A 1-inch by 1-inch welded wire is often effective for keeping larger animals out while allowing adequate ventilation. Make sure the mesh extends several inches underground to prevent tunneling by determined predators. This extra step will provide a more secure environment for your chickens.
During installation, ensure that the wire is tight against the frame with no gaps. I found using a staple gun effective for affixing the mesh, as it creates a strong bond and minimizes risk of snagging. Remember to wear gloves when handling wire to prevent injury from sharp edges and to be patient while aligning it to prevent any sagging.
Maintenance Tips for a Happy Chicken Run
Maintaining your chicken run is essential for the health of your flock. Regularly check for gaps or damage in the wire mesh and the structure itself. It’s wise to conduct these inspections weekly since outdoor elements can wear components down over time. Keeping an eye out for rust on hinges or nails, and promptly repairing any issues, can enhance the longevity of your run.
Cleaning is equally important; a simple rake can help keep the area tidy by removing droppings and debris. Consider regularly changing the bedding inside the run to promote cleanliness and reduce odors. Utilizing straw or wood shavings will not only keep your chickens comfortable but also absorb moisture effectively, contributing to a healthier environment.
Ingredients
For this backyard project, you'll need the following materials:
Materials
- Wooden planks
- Wire mesh
- Hinges
- Nails
- Wood screws
- Paint (optional for aesthetics)
Tools
- Saw
- Drill
- Hammer
- Measuring tape
- Level
Make sure to review your local regulations regarding backyard chickens before starting this project!
Instructions
Follow these steps to build your small chicken run:
Plan Your Layout
Begin by measuring the designated area in your backyard where you want the chicken run to be. Sketch a simple design that includes the size and shape of the run.
Prepare the Ground
Clear any debris or grass from the area where the run will be placed. Ensure the ground is level to provide a stable base.
Build the Frame
Using your wooden planks, create a frame based on your measurements. Secure the corners with nails and ensure everything is level.
Add the Wire Mesh
Attach wire mesh around the frame to make it secure against predators. Use staples to fasten the mesh to the wooden frame tightly.
Create an Access Door
Designate a section of the wire mesh for an access door. Use hinges to attach a wooden door that will allow easy access for feeding and cleaning.
Paint and Decorate (Optional)
If desired, paint the outside of the run for additional aesthetics. Ensure any paint used is non-toxic and safe for animals.
Finalize and Add Chickens
Double-check all connections and finishing touches. Once satisfied, introduce your chickens to their new home!
Regularly check the structure for any maintenance needs, and enjoy your delightful backyard experience!
Pro Tips
- Consider adding a dust bathing area within the run to keep your chickens healthy and happy. Chickens love to dust bathe, which helps them maintain their feathers and overall well-being.
Tools You'll Need
Having the right tools at hand before you start building your chicken run can save a lot of time and frustration. A saw is essential for cutting the wooden planks to size, and a drill is perfect for securely fastening everything together. Make sure your measuring tape is accurate; any discrepancies in sizing could lead to gaps or an unstable structure.
Using a level during construction will ensure that the frame is even, which is crucial for both aesthetics and stability. I recommend double-checking measurements before making any cuts to minimize waste and avoid making multiple trips back to the hardware store.
Creating a Cozy Environment
Once the run is complete, consider adding some features that enhance the comfort of your chickens. Providing nesting boxes is essential, as they offer a safe place for hens to lay eggs. A few perches can also help them feel at home; chickens enjoy roosting at night, so placing wooden beams at varying heights can mimic their natural habitat.
Adding dust baths with a mixture of sand and DE (diatomaceous earth) can help keep your chickens clean and pest-free. Make sure these are located in a shaded area to prevent the mixture from drying out too quickly. Keeping the environment dynamic not only boosts the happiness of your chickens but also encourages their natural behaviors.
Questions About Recipes
→ What size should the chicken run be?
A general rule is to provide at least 10 square feet of space per chicken within the run.
→ How do I protect my chickens from predators?
Ensure the run is built with sturdy wire mesh and bury the mesh a bit underground to prevent digging predators.
→ Can I keep different breeds of chickens together?
Yes, different breeds can coexist, but intro their introductions slowly to avoid bullying.
→ What should I do during winter for my chickens?
Make sure they have adequate shelter from harsh weather and check for frostbite on their combs and wattles.
Small Backyard Chicken Run
What You'll Need
Materials
- Wooden planks
- Wire mesh
- Hinges
- Nails
- Wood screws
- Paint (optional for aesthetics)
Tools
- Saw
- Drill
- Hammer
- Measuring tape
- Level
How-To Steps
Begin by measuring the designated area in your backyard where you want the chicken run to be. Sketch a simple design that includes the size and shape of the run.
Clear any debris or grass from the area where the run will be placed. Ensure the ground is level to provide a stable base.
Using your wooden planks, create a frame based on your measurements. Secure the corners with nails and ensure everything is level.
Attach wire mesh around the frame to make it secure against predators. Use staples to fasten the mesh to the wooden frame tightly.
Designate a section of the wire mesh for an access door. Use hinges to attach a wooden door that will allow easy access for feeding and cleaning.
If desired, paint the outside of the run for additional aesthetics. Ensure any paint used is non-toxic and safe for animals.
Double-check all connections and finishing touches. Once satisfied, introduce your chickens to their new home!
Extra Tips
- Consider adding a dust bathing area within the run to keep your chickens healthy and happy. Chickens love to dust bathe, which helps them maintain their feathers and overall well-being.
Nutritional Breakdown (Per Serving)
- Calories: 0 kcal
- Total Fat: 0g
- Saturated Fat: 0g
- Cholesterol: 0mg
- Sodium: 0mg
- Total Carbohydrates: 0g
- Dietary Fiber: 0g
- Sugars: 0g
- Protein: 0g